1. Established the composition and colors based on the approved sketch from the client.
Used some random ref pics for the color of the sky, but thats all.
Hard round, soft round and charcoal brushes mainly.
Used some random ref pics for the color of the sky, but thats all.
Hard round, soft round and charcoal brushes mainly.
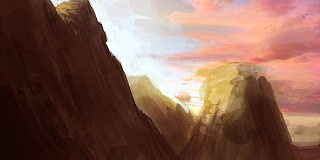 2. Refined the shapes and form with attention on the light source.
Tried to establish the aerial perspective and all the details, what I can develop further.
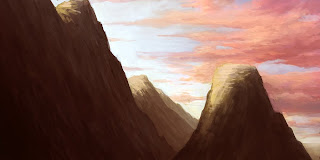 3. Used some textured brushes on a soft light layer at around 50% opacity,
then distorted the layer to match to the perspective of the mountains.
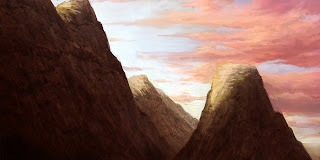 4. Added some extra textures on overlay layers around 30% opacity,
to achieve more naturalistic details. (Got the texture from cgtextures.com .)
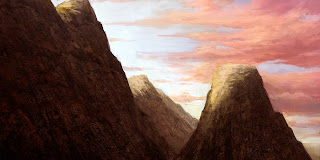 5. First round of vegetation and overpainting the textures to correct
all the faults of the previous layers.
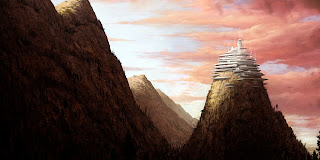 8. Flattened the whole image to a new layer and corrected the perspective faults
with liquify filter and free transform / distortion of certain parts.
Added a bit of atmosphere to the far background and to the mountain top.
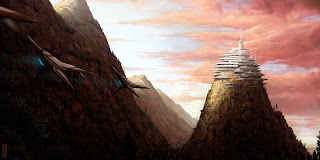
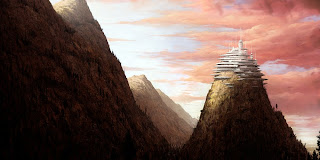 9. Added all the final details, some small ships at the base, dust blowing in the wind, etc.
Created the foreground to enhance the depth of image with the closest trees.
Added the jets to add some movement and to point the viewer towards the base more.


No comments:
Post a Comment